Tech Tip: Use Trimble Terraflex Plug-in to Streamline Office to Field Workflows in ArcGIS

Requirements:
- ArcGIS for Desktop 10.2 or higher
- Geodatabase
- Trimble Terraflex account (trial or subscription)
- Terraflex Plugin installed and activated in ArcMap (download from Trimble) or Trimble Positions Desktop Add-in (10.4.0.1 or higher-actual steps may vary)
- Android, iOS, Windows Mobile or W10 Device with Terraflex app installed
Steps:
- In ArcMap, create an MXD with only the feature classes that you wish to collect in the field. Turn off any fields that the field workers will not use. ObjectID and Shape fields are required.
- Save the MXD.
- In ArcMap, turn on the Terraflex toolbar.
- Click on the Desktop Admin button on the Terraflex toolbar.

- In the Project window that appears, click Create.
- The Project Type will be Terraflex (if prompted). You must set a datum transformation for the projected data in the MXD. Click Change to do this. Knowledge of proper datum transformations is required.
- Click Start.
- Enter the email username from the Terraflex account above. Enter the password. Click Login to test the credentials. If successful, click Next.
- Since the MXD only contains the layers you wish to take into the field, click Next in the Layers Pane. All of the layers from the MXD will be checked on.
- In the next pane, you can specify and configure fields for metadata collection. Knowledge of metadata and geodatabase management required. Otherwise, click next to take the defaults.
- In the last pane, enter a name for the Terraflex Project. Using the MXD name is a good way to keep things organized as you will need to know which MXD matches the Terraflex project later in order to sync the field data back into the geodatabase.
- Choose an option for handling Feature Heights (ie elevation values).
- Choose options for Publishing. Check the box next to Associate current user to project so that the current login (Step 8) can use this project in the field app. Check the box to Publish templates for data update if you wish to check out data to the field for data update in a later exercise. Click Publish. This make take a few minutes.
- Once the publishing is complete, click Finish.
- On the mobile device, open up the Terraflex app and sign in to the account above. Sync the device over wifi if no data plan is included on the device.
- Click on Projects in the upper left corner. In the list of projects, choose the project just published.
You may now collect features using the templates just created. The data will be synced back into the geodatabase in a later exercise.
Related Posts
-
 Duncan-Parnell Granted FAA Section 333 Exemption
Duncan-Parnell, Inc. is pleased to announce that the Federal Aviation Administration (FAA) has granted an exemption that will allow the company to conduct commercial operation
Duncan-Parnell Granted FAA Section 333 Exemption
Duncan-Parnell, Inc. is pleased to announce that the Federal Aviation Administration (FAA) has granted an exemption that will allow the company to conduct commercial operation -
 Training Event: Zeb-Revo GeoSLAM 3D Scanner & Related Software
Hosted by Nash Community College
Location: Nash Community College, 522 N Old Carriage Rd., Rocky Mount, NC 27804 • December 6, 2017
Training Event: Zeb-Revo GeoSLAM 3D Scanner & Related Software
Hosted by Nash Community College
Location: Nash Community College, 522 N Old Carriage Rd., Rocky Mount, NC 27804 • December 6, 2017
-
 Trimble Announces NEW, Value-Added Features For Trimble Protected Plus Plans For Trimble Access
Invest In Maintenance Now And Save!
Trimble Announces NEW, Value-Added Features For Trimble Protected Plus Plans For Trimble Access
Invest In Maintenance Now And Save! -
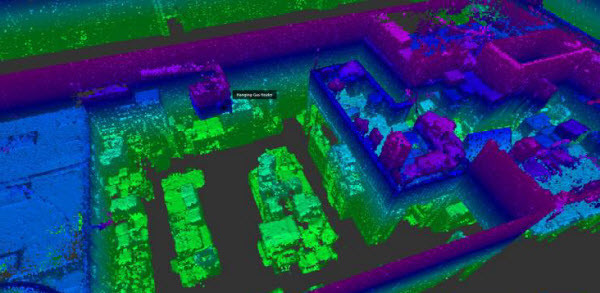 The ZEB-REVO Mobile 3D Scanning System From GeoSLAM
Just Go For A Walk, It's That Simple
Available for purchase or rental. 10% off for new GeoSLAM customers for a 1-day rental with training - Available in NC, SC, VA, and GA. MENTION PROMO CODE EM-GEOSLAM17
The ZEB-REVO Mobile 3D Scanning System From GeoSLAM
Just Go For A Walk, It's That Simple
Available for purchase or rental. 10% off for new GeoSLAM customers for a 1-day rental with training - Available in NC, SC, VA, and GA. MENTION PROMO CODE EM-GEOSLAM17